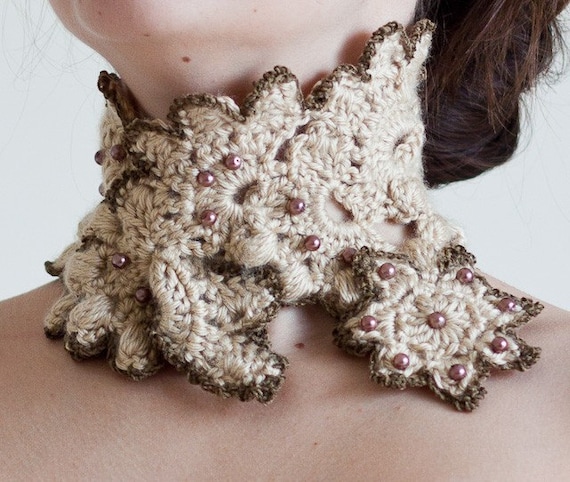
I love my sea shell scarf. But sometimes one wants some novelty.
One day I changed a usual pattern.
Offered is a new variation of a well known sea shell scarf. It turned out softer and having more volume.
I hope you enjoy it!
Tuesday, December 14, 2010
Tuesday, December 7, 2010
Snowflakes Hat for my son
This Hat I have made for my son.
It is crochet :) It is proper jacquard (Tapestry Crochet) :)
>
It is crochet :) It is proper jacquard (Tapestry Crochet) :)
>
Monday, December 6, 2010
How to starch crocheted things
Here is a lesson on how to starch crocheted small things.
Holidays are coming, one wants to amuse relatives with little crocheted trifles, that take a long time to make and warm up heart and soul.
But little crocheted things need to be starched to have completed look.
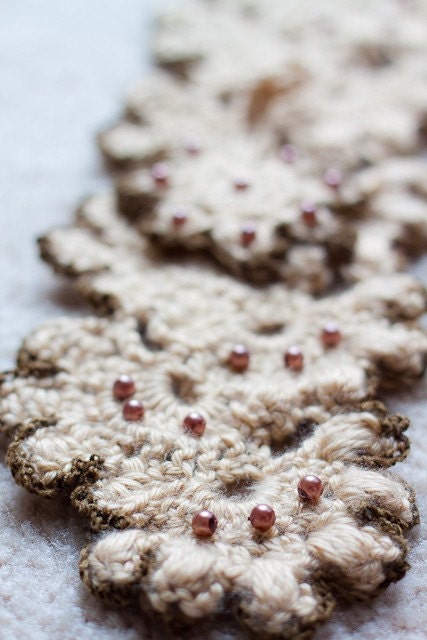
First, crochet the snowflakes, hide thread ends and perform all minor finishing operations.
Now boil the starch. Snowflakes require density and strength, so we want high concentration of starch in the solution.
We will need
For starch solution
2.5 table tablespoons of starch (potato or corn)
1 cup cold water
3 cups boiling water
Additionally
Poly-foam
Clean fabric, preferably cotton white
Pins
In a small bowl combine cornstarch and water. Mix well.
Stirring continuously, add 3 cups on boiling water into starch solution. Mix well.
Stirring continuously, simmer over low heat for 5 minutes.
The solution is ready! Let it cool down to room temperature.
Meanwhile, prepare a piece of storyfoam and a piece of fabric (any color cotton fabric is ok as long as it does not lose color in water) and pins. Wrap the fabric around the storyfoam.
Once the starch solution cooled down to room temperature drop in your items and stir thoroughly to ensure good soaking.
Take items out one by one, squeeze lightly then spread out on a fabric covered foam and pin them.
Once dry slowly and carefully remove from the fabric, make sure not to damage. They are now ready for you final application, I will use my snowflakes in handmade postcards.
Happy holidays!
Holidays are coming, one wants to amuse relatives with little crocheted trifles, that take a long time to make and warm up heart and soul.
But little crocheted things need to be starched to have completed look.
This lesson focuses on starching crocheted snowflakes.
First, crochet the snowflakes, hide thread ends and perform all minor finishing operations.
Now boil the starch. Snowflakes require density and strength, so we want high concentration of starch in the solution.
We will need
For starch solution
2.5 table tablespoons of starch (potato or corn)
1 cup cold water
3 cups boiling water
Additionally
Poly-foam
Clean fabric, preferably cotton white
Pins
In a small bowl combine cornstarch and water. Mix well.
Stirring continuously, add 3 cups on boiling water into starch solution. Mix well.
Stirring continuously, simmer over low heat for 5 minutes.
The solution is ready! Let it cool down to room temperature.
Meanwhile, prepare a piece of storyfoam and a piece of fabric (any color cotton fabric is ok as long as it does not lose color in water) and pins. Wrap the fabric around the storyfoam.
Once the starch solution cooled down to room temperature drop in your items and stir thoroughly to ensure good soaking.
Take items out one by one, squeeze lightly then spread out on a fabric covered foam and pin them.
Once dry slowly and carefully remove from the fabric, make sure not to damage. They are now ready for you final application, I will use my snowflakes in handmade postcards.
Happy holidays!
Tuesday, November 30, 2010
Friday, November 26, 2010
Black Friday SALE in bumblestore
BLACK FRIDAY SALE! Buy one item in Bumblestore at regular price and get a second item of lesser or equal value at 90% off on with BLACK FRIDAY coupon code BFSALE!
There is a BIG sale!
If you need a help with your purchase feel free to ask!
WELCOME!
http://www.etsy.com/shop/bumblestore
There is a BIG sale!
If you need a help with your purchase feel free to ask!
WELCOME!
http://www.etsy.com/shop/bumblestore
Tuesday, July 20, 2010
Welcome to crochet lessons!
Hi to all!
I want to start crochet lessons.
It's free! It's cool! Make a cute autumn items with bumblestore!
You can sign up for lessons in this topic or in my Ukrainian forum
http://handmade.freeforums.biz/forum-f2/tema-t5.htm
In this blog I provide lessons in English, in my forum - in Ukrainian.
These lessons designed for beginners in crochet, it's simple, I will tell you everything I know and help them, if you have problems or questions!
Welcome!
Monday, March 1, 2010
Thursday, February 11, 2010
Pom-pom Tutorial
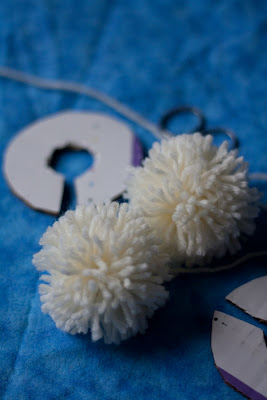
Today, I made pom-poms.
Nothing to be scared!
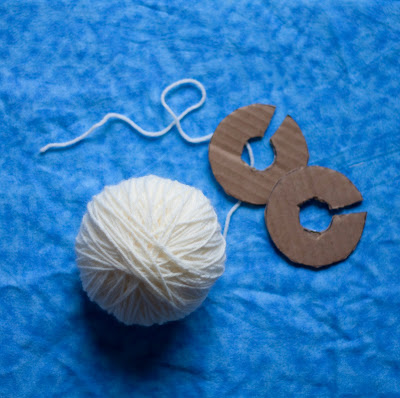
Cut circles from cardboard with cutouts for thread.
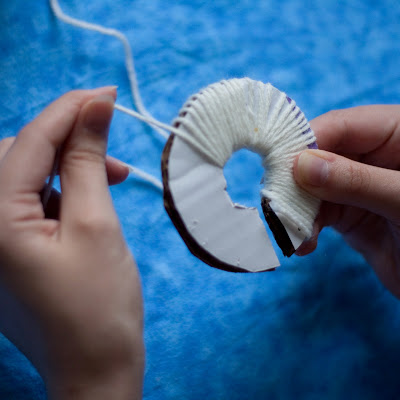
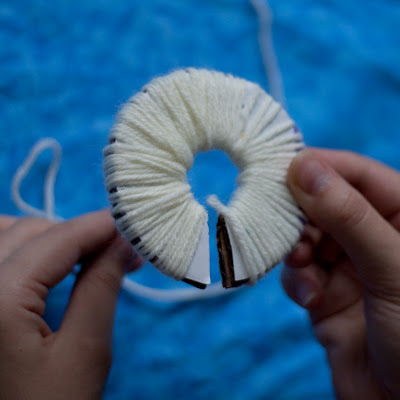
Started to spool thread, it is recommended to spool until the hole in the center is fully covered. I did not go that far. I spool the thread three times over.
First time.
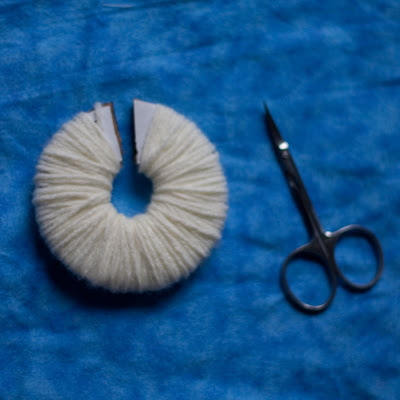
These are second and third. Once done, cut the thread and start the most difficult part.
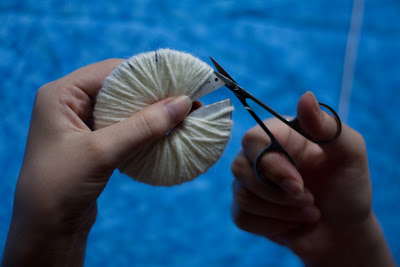
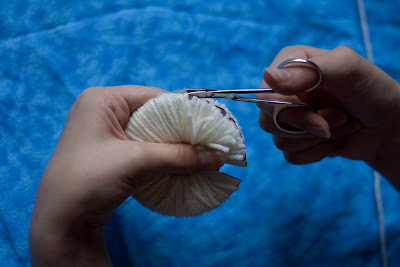
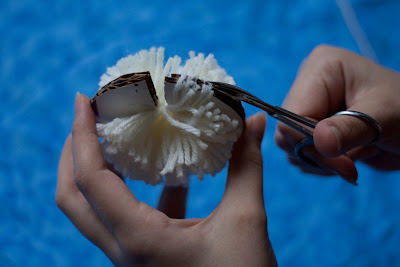
Cut the thread between circles :)
In the end we get this :))
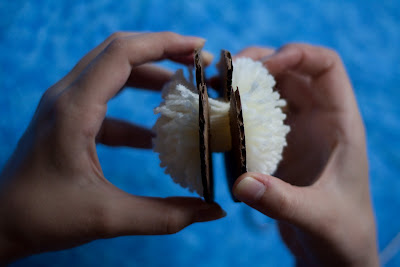
Spread cardboard circles a bit and tie the thread in the middle.
We have fun pom-poms just like the photo at the top :)
This pom-poms I used in the following project
This is another pom-pom made with this tutorial
This tutorial in Ukrainian
Subscribe to:
Posts (Atom)